
Substantively reviewed and updated: August 28, 2026
Direct answer
Choose shapewear by the outfit problem, the body area you want to smooth and your current measurements. Start with the least complicated style that covers the full target area, then compare edge placement, torso or leg length, closure access and a support feel you can comfortably wear. Do not size down to create a stronger effect.
- Outfit first: neckline, fabric and hem reveal which garment edges need to stay hidden.
- Measurements first: use the chart for the exact product, not only your usual clothing size.
- Fit beats force: rolling, digging, numbness or restricted breathing are not signs of a better result.
Quick FAQ
What type of shapewear should a beginner choose?
Start with the area and outfit you want to smooth. A high-waist brief is simple for the lower belly; shorts add thigh coverage; a bodysuit avoids a separate waistband.
Should I order one size smaller?
No. Use current measurements and the exact product chart. Sizing down can create rolling, digging and uneven lines.
How should shapewear feel?
Secure and smooth, with normal breathing and movement. It should not cause pain, numbness, persistent skin irritation or deep pressure marks.
Can everyday shapewear replace a recovery garment?
No. Post-surgery compression has a different purpose and should follow the treating professional’s garment and wear instructions.
The five decisions that determine a good shapewear purchase
| Decision | Question to answer | What can go wrong |
|---|---|---|
| 1. Outfit | Which neckline, hem, fabric and back shape must the garment work under? | A correct size can still show through an incompatible outfit. |
| 2. Target area | Do you want to smooth the waist, lower belly, back, hips, thighs or a continuous torso line? | A garment ending inside the target area can create a new visible edge. |
| 3. Measurements | What are your current bust, waist, hip and torso measurements where the product chart asks? | Usual dress size may not transfer across products or constructions. |
| 4. Construction | Do you need an open bust, built-in cup, brief, thong, short leg, long leg or bathroom opening? | The wrong construction becomes inconvenient even when it looks smooth standing still. |
| 5. Support feel | Can you sit, breathe and move normally for the planned occasion? | Sizing down may increase discomfort without improving the outfit. |
Step 1: identify the exact outfit problem
Put on the outfit before choosing the shapewear. Look from the front, side and back in ordinary light. Decide whether the issue is a waistband break, lower-belly line, back transition, visible underwear edge, thigh line or fabric cling. “I want to look slimmer” is too broad to choose a useful garment; “I want a continuous line under this knit dress” leads to a practical decision.
Fine knits and satin can reveal edges that denim or structured fabric hides. A low-back dress can expose a high back panel. A short skirt can expose a long-leg hem. The right style is the one that remains invisible under the actual outfit.
Step 2: match the format to the coverage
| Format | Useful starting point | Fit detail to verify |
|---|---|---|
| Bodysuit | Continuous torso smoothing; avoids a separate waistband | Torso length, bust design, neckline and gusset access |
| Shaper shorts | Waist, belly, hip and upper-thigh coverage | Rise, inseam, leg opening and movement under the outfit |
| Shaping brief | Lower-belly and waist smoothing with free thighs | Waistband height and the line at the leg opening |
| Shaping thong | Waist and lower-belly coverage with a reduced rear underwear line | Comfort, rise and gusset construction |
| Slip | A continuous surface under a dress without separate leg openings | Hem movement, dress length and bust compatibility |
| Waist-focused piece | Midsection structure only | Rib and hip placement, seated comfort and limited coverage |
For a deeper format comparison, see Types of Shapewear Explained.
Step 3: measure for the specific product
- Use a soft tape. Keep it level and close to the body without pulling it tight.
- Follow the product’s measurement points. A bodysuit may depend on torso and bust fit; shorts may depend more on waist, hip and thigh.
- Use current measurements. Do not assume a previous order or usual clothing size remains accurate.
- Resolve split sizing by construction. If waist and hip fall into different sizes, consult the product guidance or support team instead of automatically choosing the smaller size.
The Qinelle size guide explains how to take the main measurements, but the chart on the exact product page remains the final shopping reference.
Step 4: inspect the comfort details
Edges and seams
Check where the waistband, leg opening and back edge finish. Flat or bonded edges may show less under some fabrics, while reinforced seams may add structure.
Bust design
An open-bust style lets you use your own bra. A built-in-bust style must fit both the torso and cup area.
Closures
Hooks and zippers can make dressing easier or add adjustability, but their location must work under the outfit and while sitting.
Bathroom access
For bodysuits and longer pieces, confirm the gusset or opening design before planning extended wear.
Step 5: perform a real movement test
Try the garment with the intended outfit, then sit, stand, bend, walk and breathe normally. Check whether the waistband rolls, the leg edge climbs, the torso pulls at the shoulders or the closure presses when seated. Repeat the visual check from all sides under natural light.
Support labels are not universal measurements
Terms such as light, medium and firm help compare products within a range, but they are not a universal pressure standard. Do not convert an everyday support label into an assumed mmHg value, and do not choose a smaller size to manufacture a stronger level.
Everyday shapewear is selected for temporary styling while worn. It does not burn fat or permanently reshape the body. Waist trainers are a more restrictive waist-focused format and should not be treated as a permanent body-change method.
Everyday shapewear and recovery compression are separate
Do not use an everyday purchase checklist as a post-surgery prescription. A recovery garment may need procedure-specific coverage, pressure-free zones, access around incisions and a clinician-directed wear plan. Read Everyday Shapewear vs Post-Surgery Compression before comparing those categories.
Your final buying checklist
- I named the exact outfit and area I want to smooth.
- The garment covers the complete target area without ending at the most visible point.
- I used current measurements and the chart for this product.
- The bust, back, leg, gusset and closure designs work with my outfit and routine.
- I can sit, move and breathe normally without persistent rolling or painful pressure.
- I understand the return policy and the garment’s care label.
Compare four everyday formats
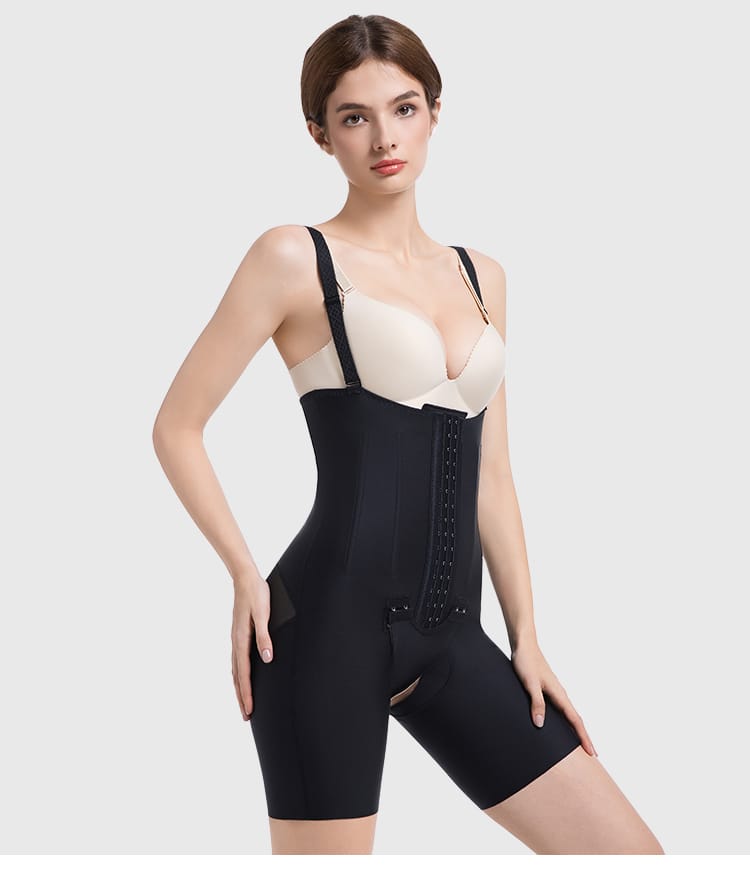
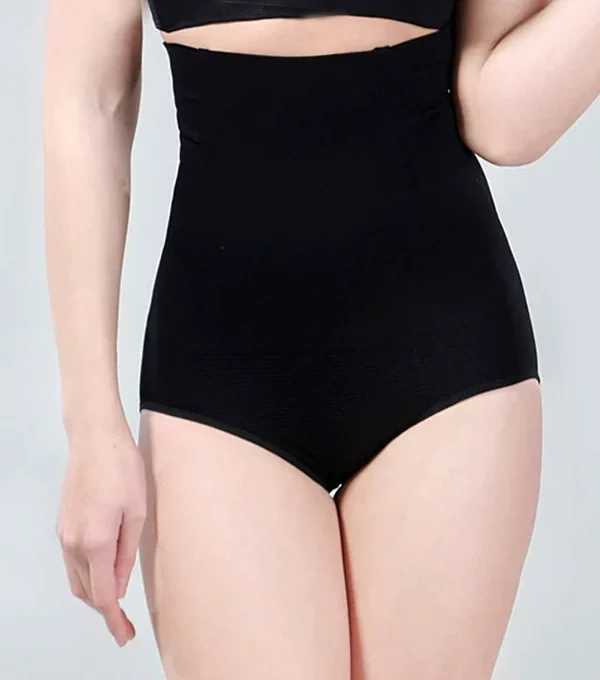
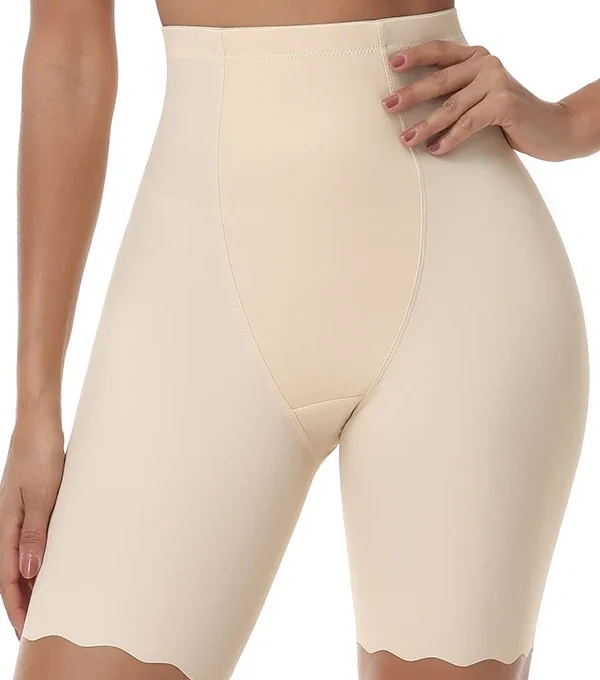
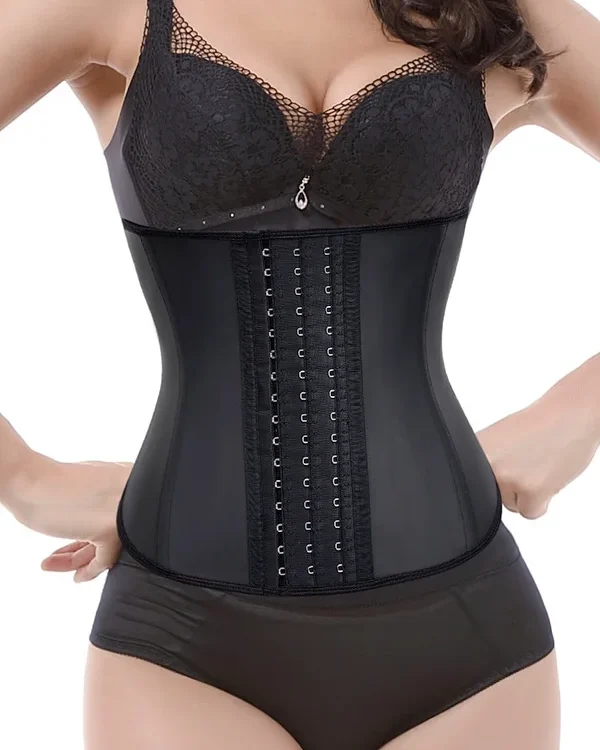
These in-stock examples represent a bodysuit, shaping shorts, shaping brief and waist-focused piece. Confirm current measurements and product details before ordering.
- Shaping Briefs & Thongs
High-Waist Seamless Knit Shaping Brief – Tummy Smoothing
Original price was: $29.00.$19.00Current price is: $19.00.Select options This product has multiple variants. The options may be chosen on the product page - Shaper Shorts
High-Waist Seamless Shaper Shorts – Tummy & Thigh
Original price was: $39.00.$29.00Current price is: $29.00.Select options This product has multiple variants. The options may be chosen on the product page - Waist Trainers & Cincher Belts
Hook-and-Eye Waist Trainer Corset Belt
Original price was: $39.00.$29.00Current price is: $29.00.Select options This product has multiple variants. The options may be chosen on the product page - Shapewear Bodysuits
Seamless Adjustable-Strap Shaping Bodysuit – Brief or Thong
Original price was: $49.00.$29.00Current price is: $29.00.Select options This product has multiple variants. The options may be chosen on the product page
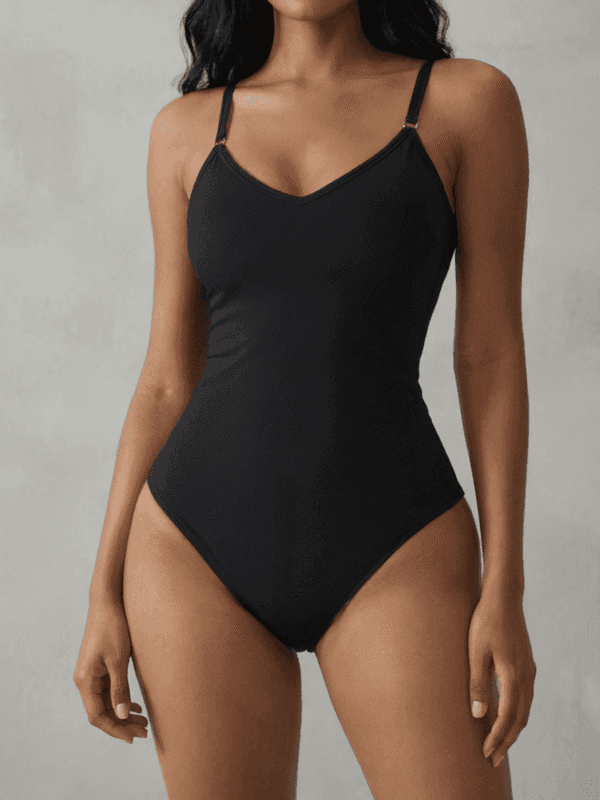
Continue with the Everyday Shapewear guide, bodysuit guide or shaper shorts guide.
Sources and review notes
- Cleveland Clinic: A Doctor’s Advice on Wearing Shapewear — fit and symptom context.
- Cleveland Clinic: Waist Trainers — What You Should Know — limits of restrictive waist-focused products.
- U.S. Federal Trade Commission: Care Labeling Rule — product-specific care instructions.
Sources and product availability checked August 28, 2026.